What do you know about wispy lash extensions?
Wispy eyelash extensions quickly became one of the most often requested styles. This comprehensive guide covers everything you need to know if you want to give wispy lashes a try – How to do wisply lashes, styles, lash map and more!
What Are Wispy Lashes?
Wispy eyelash extensions (Kim K lashes), is a trending style where a handmade lash fan is created using 2-6 lashes, then applied using alternating lash lengths, which gives the appearance of a Strip Lash look, suitable for clients who expect for a noticeable dramatic False Lash Look.
How to Create Wispy Eyelash Extensions?

Wispy eyelashes can be created in three ways: with classic lashes of different lengths, with volume lashes as well as hybrid lashes, which are a combination of the two styles.
The biggest problem is how to choose the right length and the spots where the spikes will be placed, so the lashes look even. Also, you need to figure out how much weight your client’s lashes can hold and then map a design that fits their eyes.
Step 1: Remember to clean your natural lashes with vavalash lash shampoo before grafting the lashes
Step 2: Secure the lower lashes with vavalash eye patches, and fix with tape if necessary.
Step 3: Gently pull the eyelid upward with the tape, double-checking that all lower lashes are hidden and making sure your client is comfortable.
Step 4: Using vavalash super bonder continue with your pre-treatment
Step 5: Create a Wispy Lash Map. Once the natural lashes are clean and you have placed the eye pads, you can start to create a lash map. This will help you determine where to place each lash extension.You generally want to choose shorter wisps for the other corner of the eye and progressively increase the lash length of the wisps as you move towards the center of the eye.
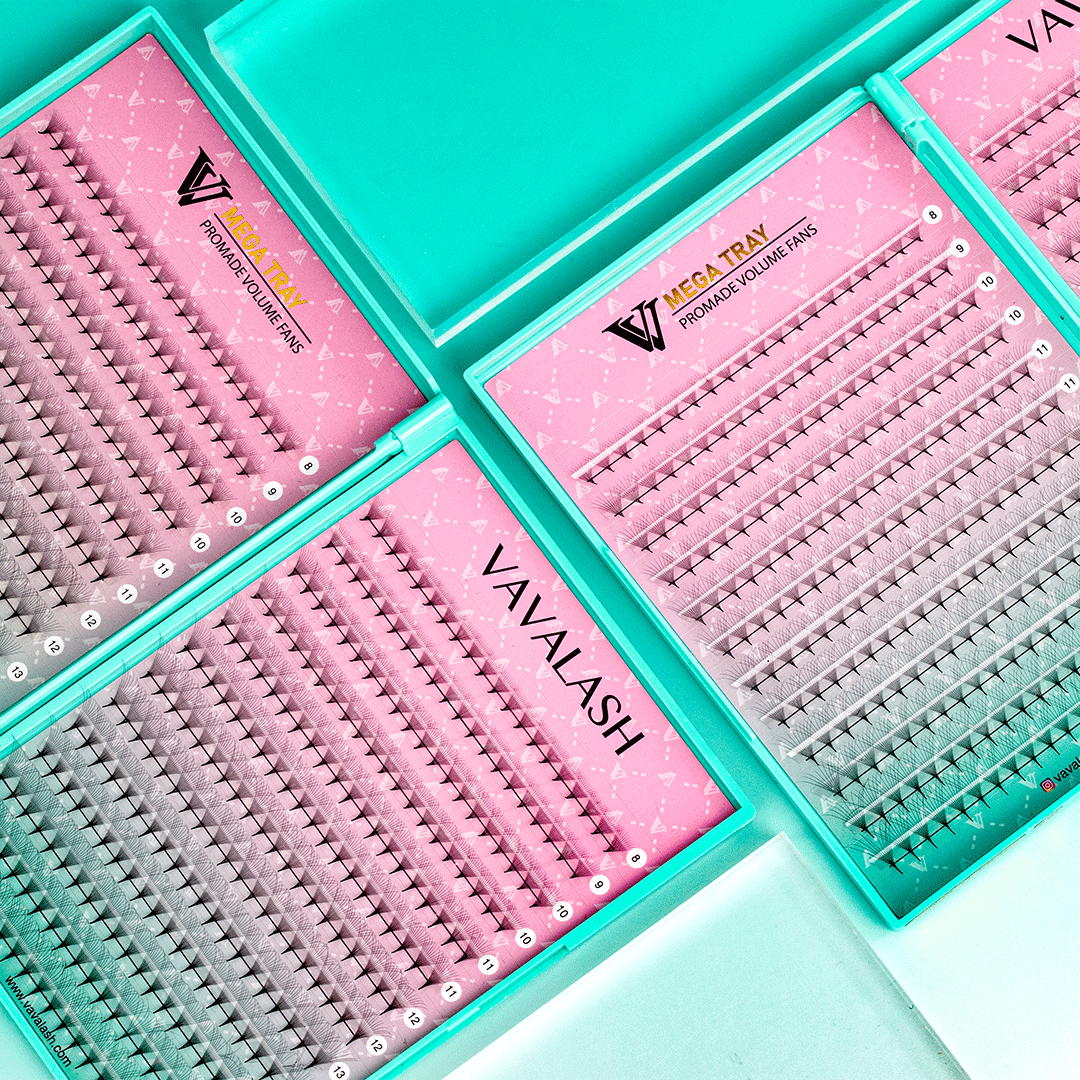
Step 6: Take out strips of lashes from the box, stick them to your lash palette and prepare your jade stone by applying a lash glue sticker on top of it.
Step 7: Shake your glue by using a glue shaker, grab your favorite pair of tweezers from your tweezer case and you’re ready to begin a beautiful set of lashes!
Maarleenz did a great wispy lash extension mapping video tutorial for beginners. Check it out below!
What Wispy Lashes Styles Are There?
There are different wispy eyelashes styles to choose from and all of them require different mapping. The most popular one is the Kim K style, which got its name after the celebrity star Kim Kardashian. Here is the difference between the different wispy eyelashes styles.
Kim K wispy lashes – the most popular and the most suitable for anybody. The 10mm long fans are placed in outer corners, 11mm fans in the middle, and 7, 8 and 9mm fans are in the inner corner. Spikes are usually 2mm longer than the main layer, and 1mm longer in the inner corner. Place a couple of spikes of the same length near each other, so there is no gap if the one falls off. Apply 7-10 spikes per eye or more for a dramatic look.
Doll effect – For the doll effect, longer lashes are put in the middle section of the lashes, usually 12mms, then 11mm near to the inner corner and 10, 8, and 9 in the corneas.
Squirrel effect – perfect for round eyes. The longest lashes are placed near the outer corner of the eye, followed by the shorter ones in the outer corner.
Wispy cat-eye eyelash extensions – the longest lash extensions are applied in the outer corner.
This unique style is created by combining “spikes” or “Wisps” with volume fans to achieve a soft and fluffy look. When done correctly, a wispy lash set can look absolutely stunning. However, they require a great idea of expertise to pull off and should only be done by a professional lash artist.
I hope this guide has given you a better understanding of wispy lashes and everything that goes into them.


